This document covers the procedure I use to adapt a "bare" 12.7mm optical drive (CDRW, DVD+-RW) for use in an IBM Thinkpad Ultrabay 2000 and how I determine if it is functional to the manufacturer's basic specifications of being able to read and write the various optical disks it supports. Bare drives are ones which do not have the appropriate "caddy" or rails designed to fit the drive inside the Ultrabay 2000 but does have the required IDE connector at the back end of the drive which matches the IBM adapter. It is a simple procedure to transfer the pieces onto the bare drive to get it to work inside a Thinkpad.
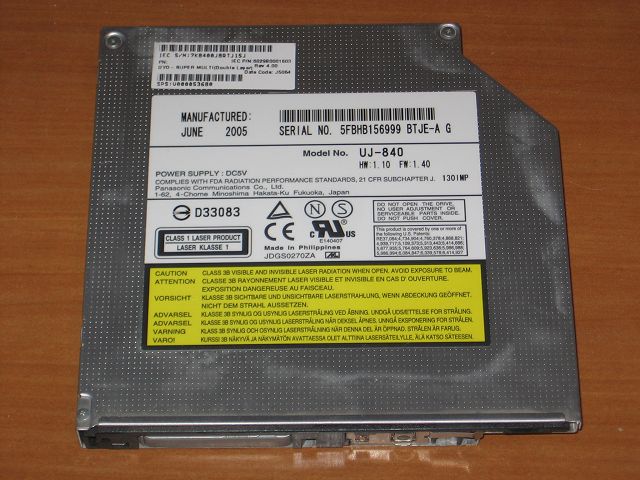
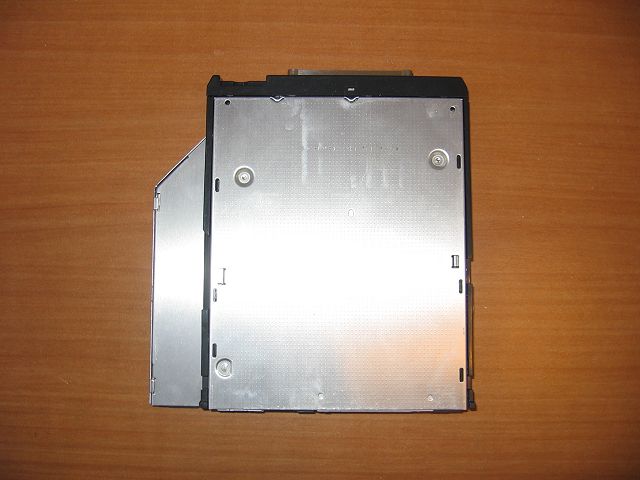
Here's some pictures of a normal bare drive:
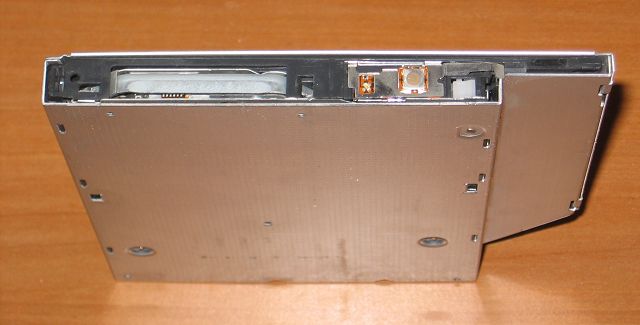
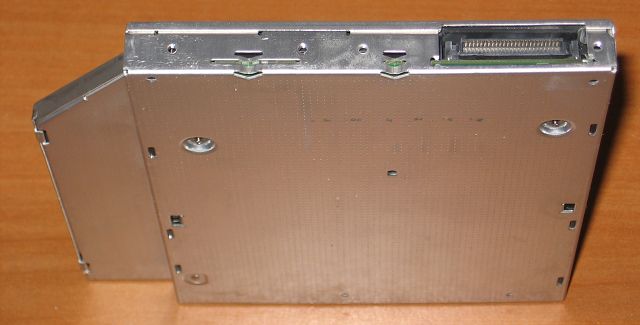
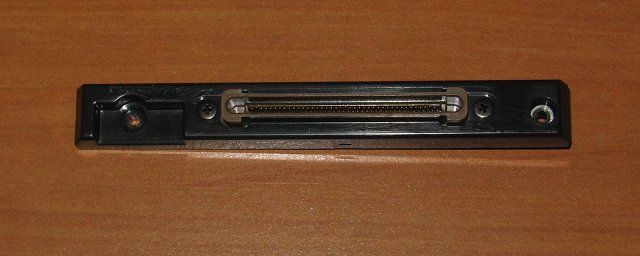
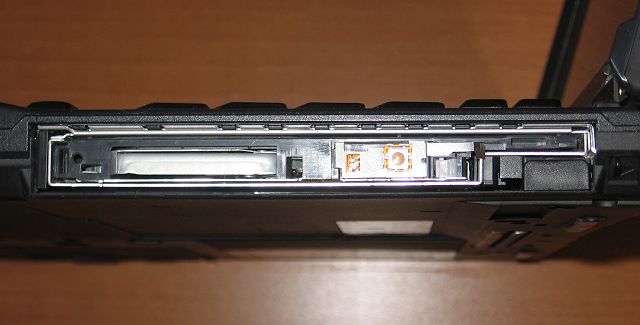
One particular thing to note when considering what optical drive is a candidate for this conversion is to check the connector on the back of the drive. It needs to be of this type:
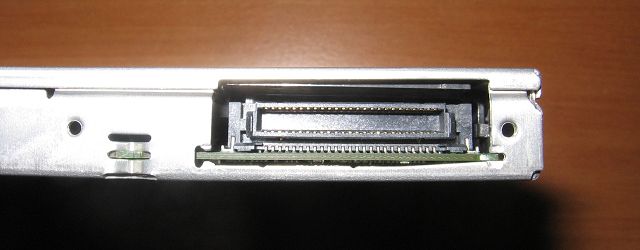
in order for the Ultrabay 2000 adapter on the back to fit properly.
In this case, it's a Matsushita (Panasonic) UJ-840 "Super-Multi" burner capable of supporting CDR, CDRW, DVD+R, DVD-R, DVD+RW, DVD-RW and DVD-RAM formats. Bare drives can come with or without the front bezel but in either case, will probably pose a problem for use with the IBM Ultrabay 2000 format. Most laptop optical drives have rectangular openings in which the drive fits. The Ultrabay 2000 does not. Instead, the eject assembly is mounted on the lower right hand side edge. This means that the front bezel needs to be notched in order to fit. In the past I have cut the bezel which was supplied with the drive using a Dremel rotary tool and cutting wheel. For the drives which are purchased without any bezel, there are eBay sellers which offer the proper bezels for the Ultrabay 2000 AND which fit some of the more common drives being sold, the UJ-840 being one of them.
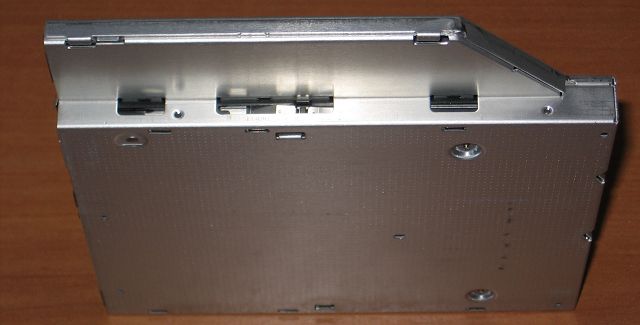
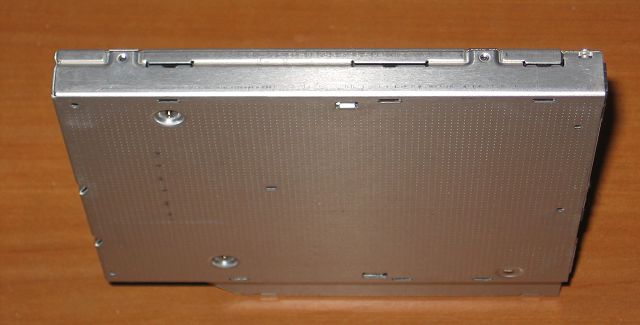
Where does the caddy come from? Again, my source is eBay but it's been hard to locate a steady supply of them at a reasonable price. The other alternative is to take the caddy off of an existing IBM Ultrabay 2000 drive and attach it to the "bare" drive. Here's some pictures to show you what is involved:
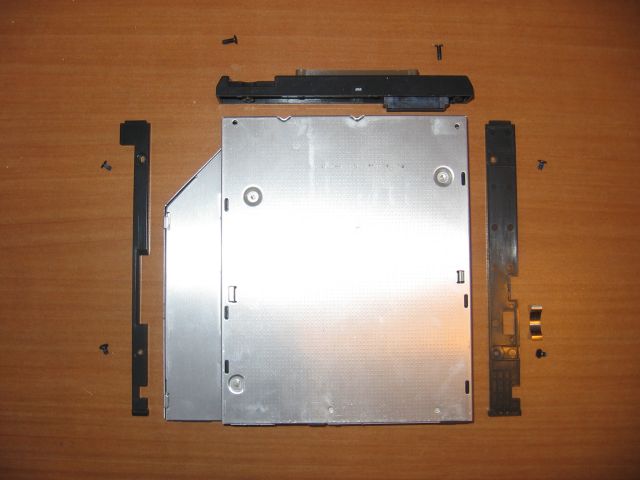
Once the caddy is attached to the drive, and optionally, the front bezel modified and/or installed, the drive is ready to be checked out for proper operation. For this I use DVDInfoPro, a shareware program which reports some very useful information about the drive and provides some tests to check how well the drive operates. Once started, this is the main screen which is displayed:
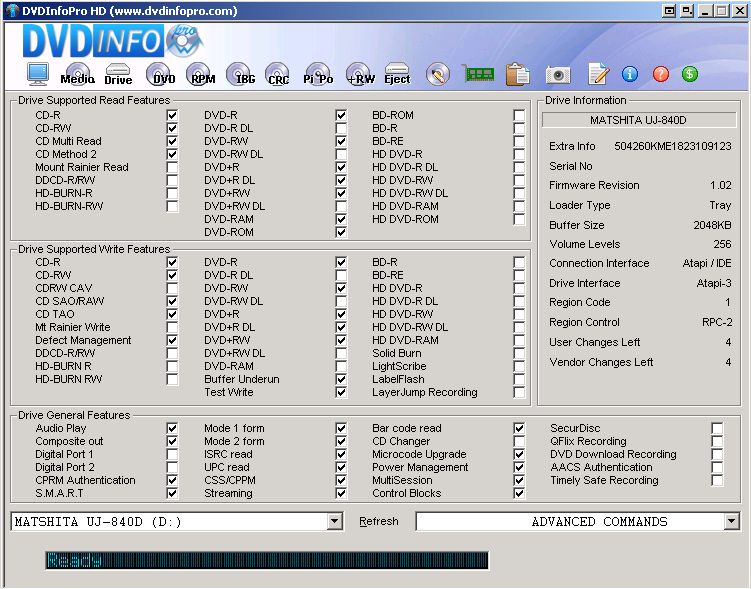
Here you can see what features and disk formats are supported. I assume that all of the information contained in this display is correct but I really only rely on a couple of items to perform my tests. For writing and verifying disks, I use Nero 6.3 OEM Suite which is installed on most of my IBM T23 laptops running Windows XP Pro.
This is the basic procedure I use to verify the operation of the optical drive (using the UJ-840 as an example):
For optical drives which support dual-layer burning, I don't test the DL capability yet. For those drives which support the DVD-RAM format, I generally do not test that capability but have done so when I've had the extra time. As far as media is concerned, I use Memorex CD-R and DVD+RW disks. CD-RW and DVD-R are various brands but mostly Ritek, SKC, Memorex or whatever Fry's has on sale. DVD-RAM disks are Panasonics.