 |
Here's the left arrow keycap after I clumsily tried to remove it from the keyboard. I first tried lifting straight up and when that seemed to go nowhere, I tried rotating it clockwise which was a suggestion I had read. Maybe I twisted it too hard or maybe it doesn't work for NMB keyboards, or maybe I misunderstood exactly what was going to be removed, but the result is what you see at left. The key is upside down so you are looking at the part that attaches to the keyboard. By the way, I also removed the "Pause" key and it's constructed the same way. I was able to lift up one end and remove just the keycap. |
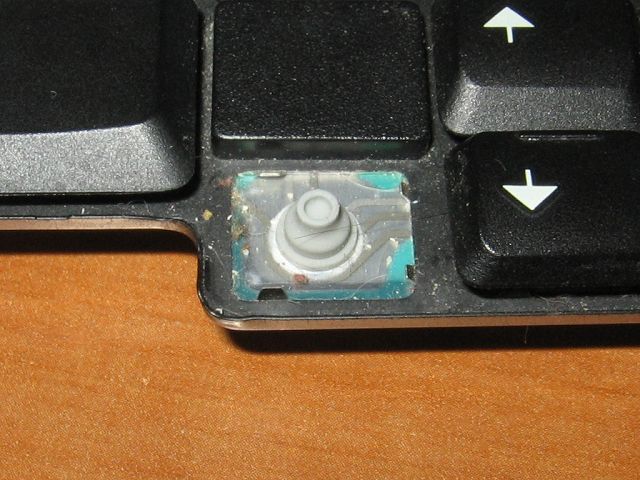 |
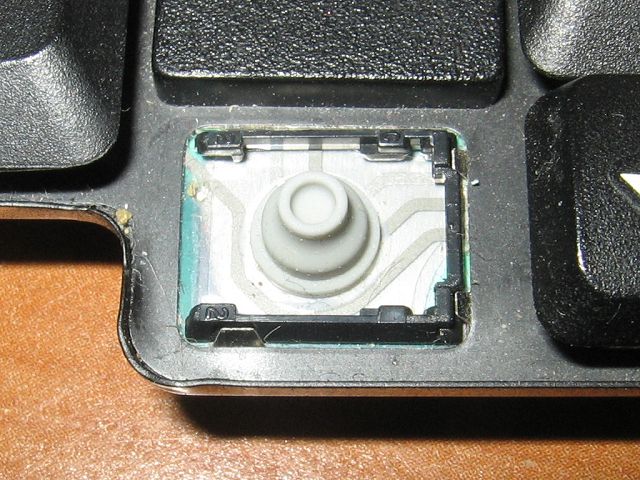
When the entire key assembly has been removed from the keyboard, this is what it looks like. Ignore the debris (the result of my older daugther using this particular keyboard) and the cat fur (thanks for noticing Steve!) and concentrate on the four tabs that are sticking up around the edge of the metal frame (two at right, one on top left and one on bottom left). As it turns out, these four tabs are what is holding the plastic framework that the keycap snaps onto. |
 |
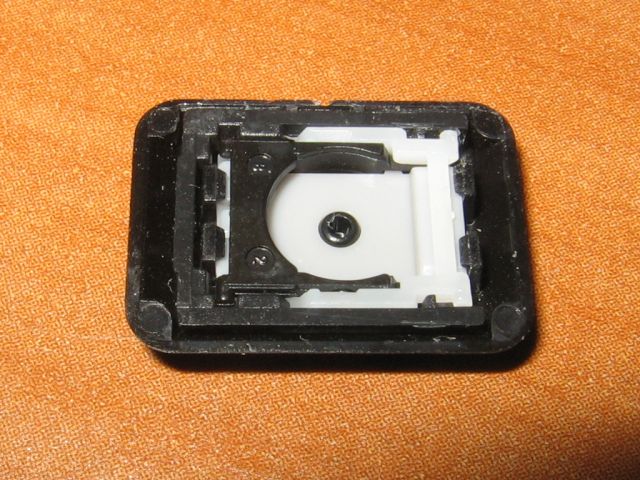
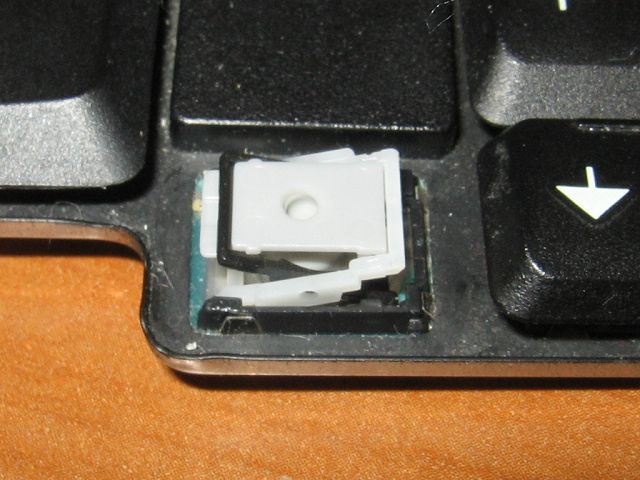
It took a small screwdriver to pop the keycap off of the plastic assembly which resembles something like a "scissors jack". It looks like there's FOUR pieces of plastic that make up this tiny assembly; a black U-shaped frame which sits on the keyboard and the three-piece hinged contraption, which when place over the rubber dome, provides the necessary platform to mount the keycap. I first tried pushing the entire assembly back onto the keyboard but found that since the four tabs are angled slightly inwards, it wasn't easy to re-attach as one complete unit. So... |
 |
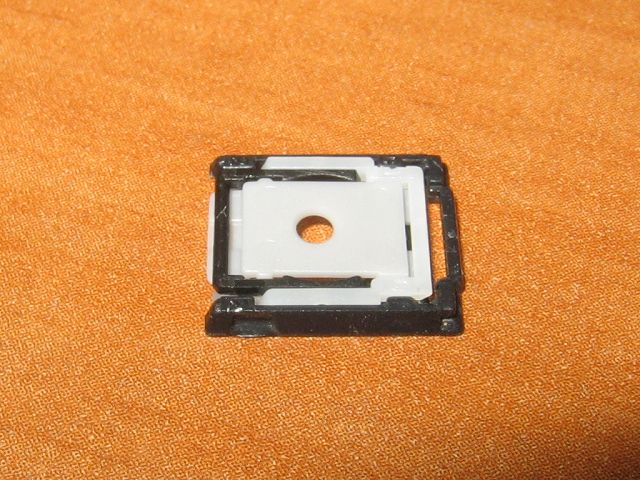
Pulling the black U-shaped frame slightly apart, I separated the two main pieces. I then place the U-shaped piece onto the keyboard like you see at left. Since you can compress the two ends together, it's very easy to slide this piece into position against the four tabs. |
 |
Next I pushed the remaining parts down in between the "arms" of the U-shaped frame. It's easier to angle one side down into the frame (in this case, the side farthest away for you) and then press gently down until it snaps together. You can then test out the spring action by pressing down where the tiny hole is. |
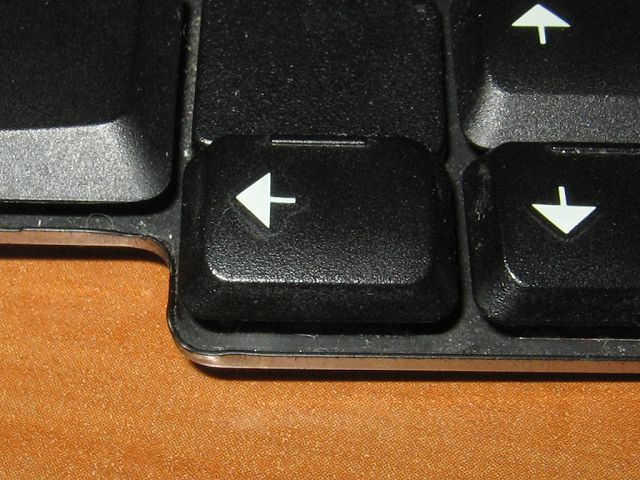 |
Once those pieces are in place, it's simply a matter of placing the keycap on top and pushing straight down. |