This shows what to expect when the CMOS battery dies in a Thinkpad 600X
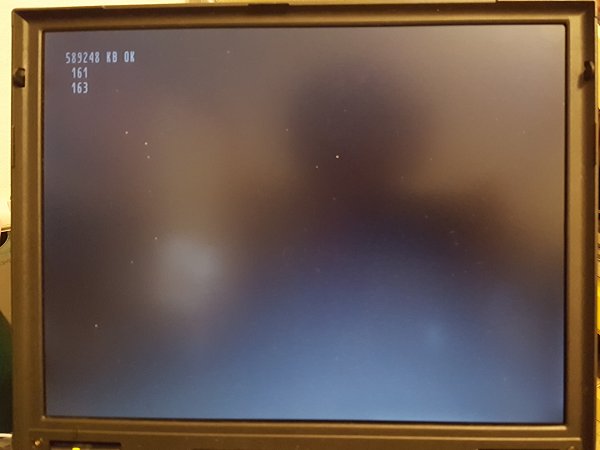 |
If the CMOS battery (FRU 02K6502) dies in a Thinkpad 600X and the system is booted, you will probably get the 161 and 163 boot error codes displayed
after the detected amount of memory in the system; in this example, the 589248 KB OK. Sometimes you may also see code 173. This is telling you that the CMOS
battery is probably dead and that BIOS has lost the date and time and needs to be reset. Power off the system and locate a known good 02K6502 battery. At this point I should add that, in my opinion, you should only use a genuine 02K6502 battery; one that has solder tabs welded to the battery and is wrapped in a plastic insulator. Trying to use a store-bought CR2025 lithium battery and taping leads to the battery might work for a while but it does invite future problems that can be annoying and/or hard to troubleshoot. |
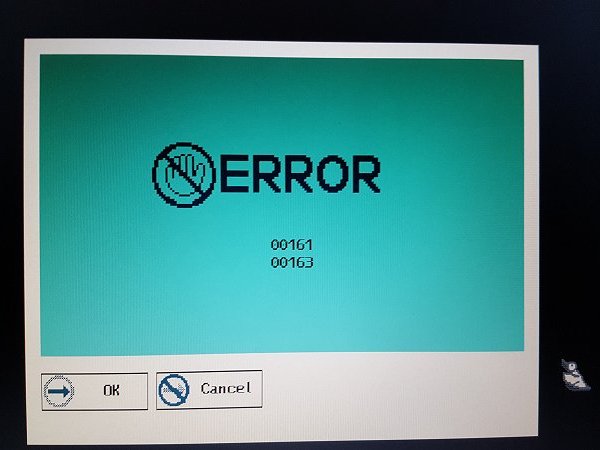 |
If you didn't power off the system right away and you let the 600X continue booting, you will eventually end up on a screen like this. You can safely power off the system. |
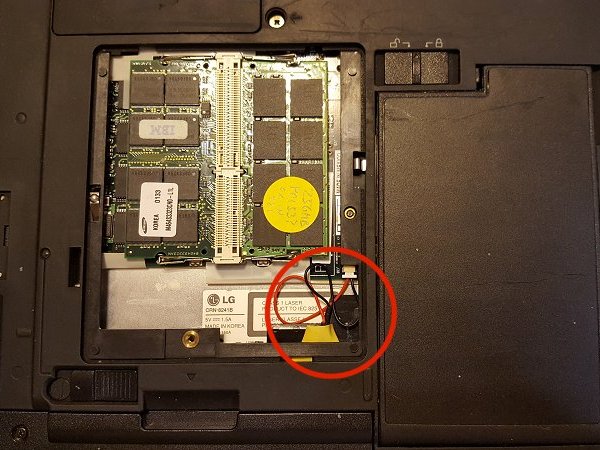 |
The bottom of the 600X contains a couple of removeable panels. The largest one is rectangular in shape and covers the memory bay. Inside is also where you will find the CMOS (aka, backup) battery. It is coin battery (3V lithium CR2025) normally wrapped in bright yellow plastic and has a small white connector attached. Remove the white connector using tweezers or needle-nosed pliers and install the new battery. The connector will only go in one way. Power the system back on. |
|
Again, after you proceed through the POST sequence, you should arrive at this screen; the error numbers may be slightly different than shown here but 161, 163 or 173 are all possible. Using the Trackpoint, move the cursor (hummingbird) over the OK button and left click. |
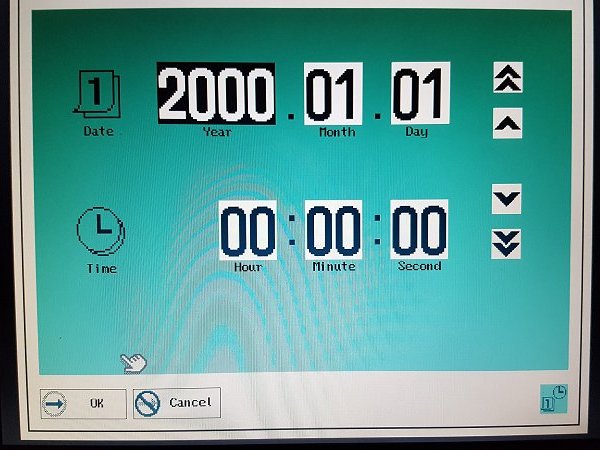 |
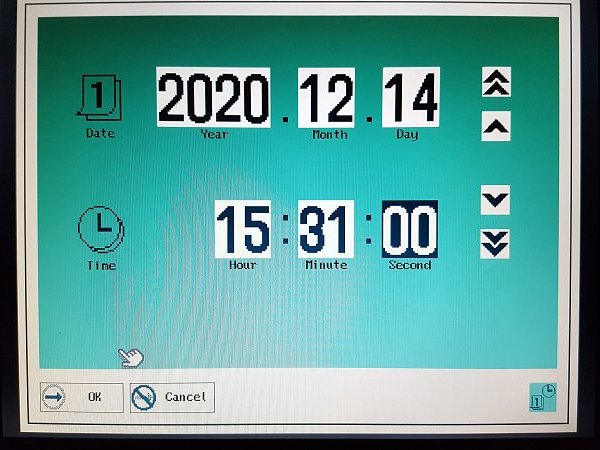
BIOS is now asking you to enter the current date and time. Using the keyboard you can type in the year, month, day, hour (24H clock), minute and
optionally, seconds; do NOT press the Enter key yet! (you will immediately exit BIOS and the system will reboot with most likely the incorrect time). If you
make a mistake, you can use the Trackpoint to click in the area you wish to correct, or click the arrow buttons on the keyboard to move between the date and time
fields. Each keypress should result in an annoying beep. The pair of Up and Down arrows on the right side of the screen allow you to increment/decrement the number in the currently selected field. The only benefit I can see is if your keyboard keys are not working you can still enter the date and time using just the Trackpoint. |
 |
When done entering all of the date and time information, press the Enter key or use the Trackpoint to click OK. The system should then reboot. |
 |
Upon rebooting, the 600X should show the IBM "splash" screen. The amount of system memory is again displayed in the upper left. There should be no more error codes displayed. |
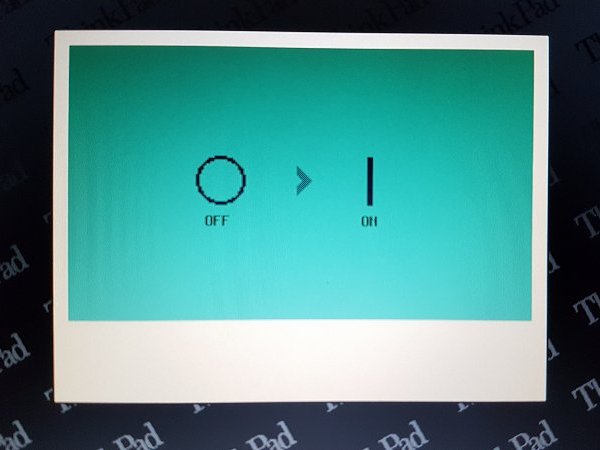 |
You should then see this screen. It's telling you to turn off the system using the power button and then turn it right back on (power cycle). But don't
do this just yet! In the next step I'm going to have you re-enter BIOS and perform an Initialization procedure. This ensures that BIOS has been reset for
proper operation. NOTE: Even if you have just installed a bad CMOS battery or have NO CMOS battery at all, the 1 or 2 seconds that the system is off is still enough time for BIOS to retain the date and time information. I've tested this out using no main battery and just powering the system with the AC adapter. I think if you have a good main battery, the BIOS clock will continue to keep time when the laptop is off but I can't be sure at the moment since I do not have a good main battery on hand for the 600X. |
|
Turn off the laptop using the power switch, wait 1 or 2 seconds, press and hold the F1 key and then power the system back up. Continue holding down the F1 key until this IBM splash screen disappers and then you should see.... |
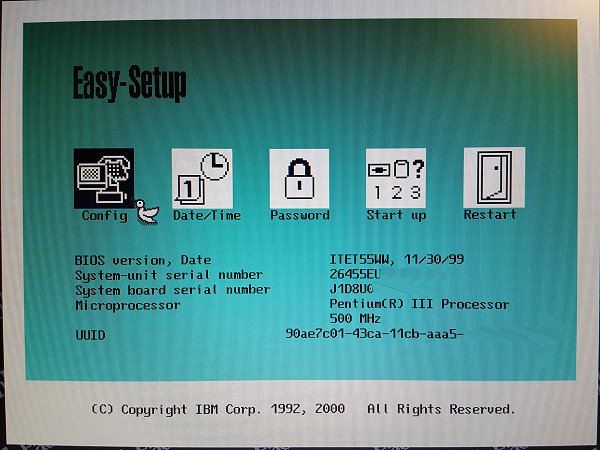 |
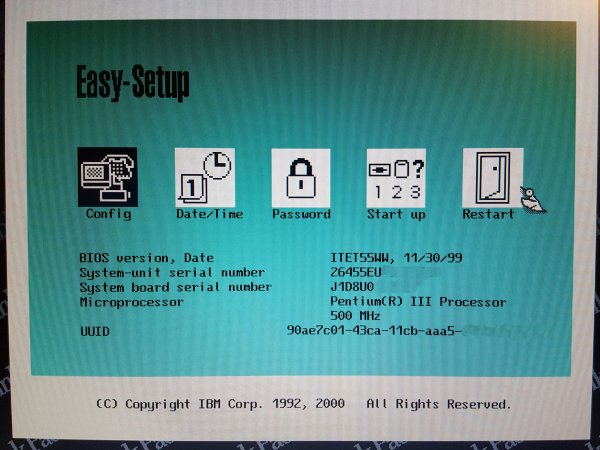
Easy-Setup, also known as the BIOS. There's several options here; the only we're going to use is Config. Use the Trackpoint to click on that tile. |
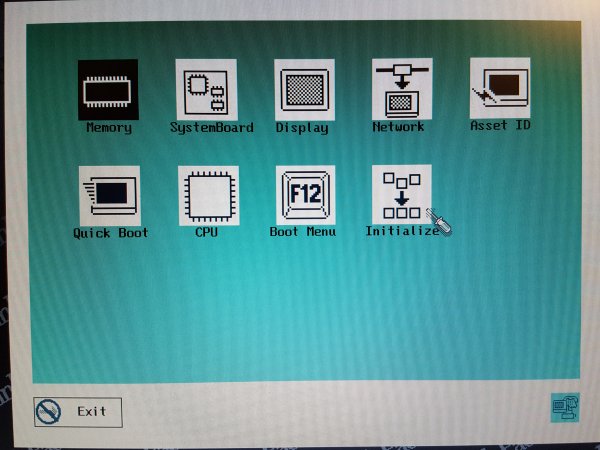 |
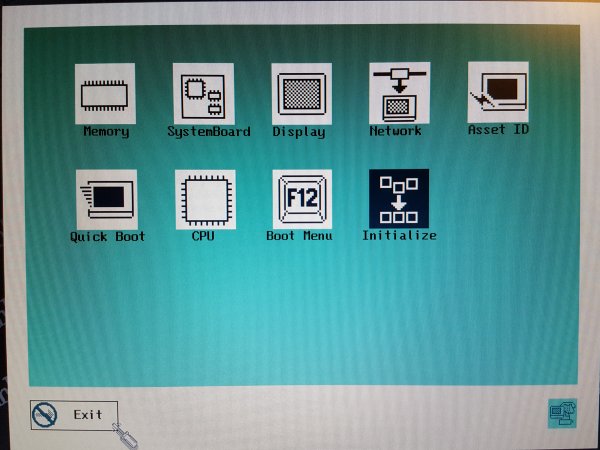
In the Config menu, click on the Initialize tile. |
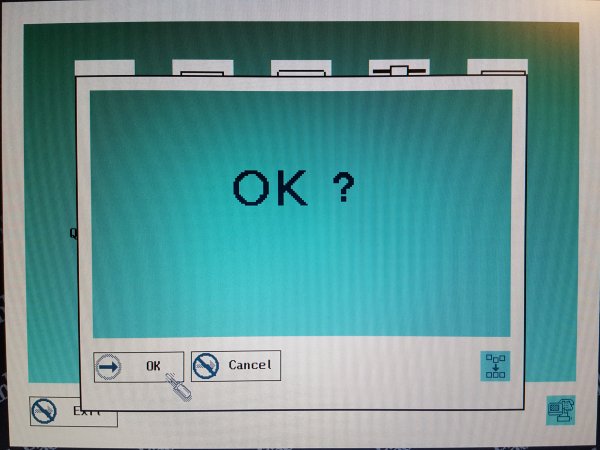 |
Confirm the operation by clicking on OK. |
 |
Nothing will have seem to have happened; no beep or outwardly response to the Initilization but it has taken place. You will be returned to the Config menu. Click on the Exit button. |
 |
You are now back in the main Easy-Setup menu. All you need to do now is restart the system. Click on the Restart tile to begin the process. |
 |
The only thing left now is to confirm the restart by clicking on OK. Assuming that you have a proper operating system on the hard drive, it should start. |