 |
| Figure 1: Powering up the IBM Thinkpad results in the "splash" screen. Press the F12 key and you'll get this... |
 |
| Figure 2: ...screen. Followed in a few seconds by this one.... |
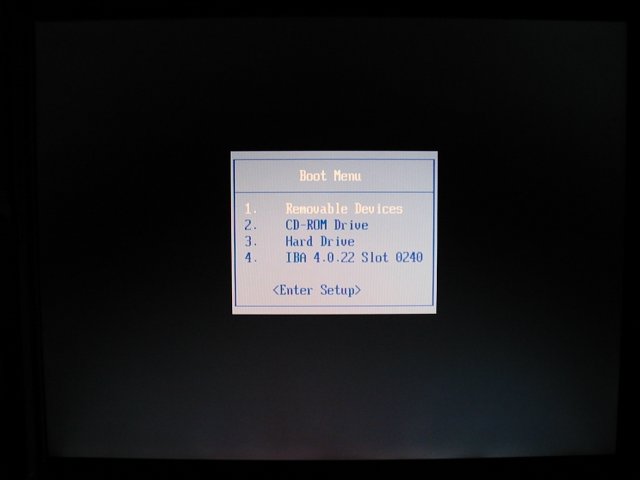 |
| Figure 3: The Boot Menu option screen. The order of these items may be a little different, but if there's an optical drive installed in the Ultrabay, you should see the CD-ROM drive option. Use the arrow keys to select that device and press the Enter key to boot from the installed media in the drive. |
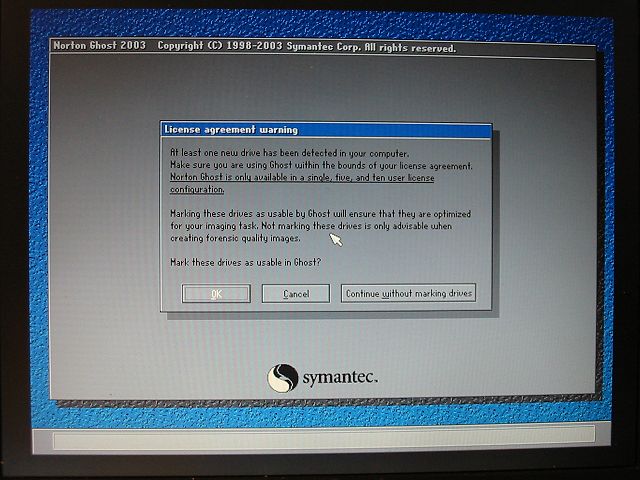 |
| Figure 4: After booting the first disk, this is the welcoming screen from Ghost 2003. In this case since the drive was erased, you will see this request: "Mark these drives as usable in Ghost?" I generally do NOT mark the drive so I select the "Continue without marking drives" button. I've done it both ways (marking and not) and I don't really know what's different. Backup and restore operations don't appear to be affected one way or the other. |
 |
| Figure 5: A Norton advertisement for the Coporate version; just skip reading the ad and click the "OK" button. |
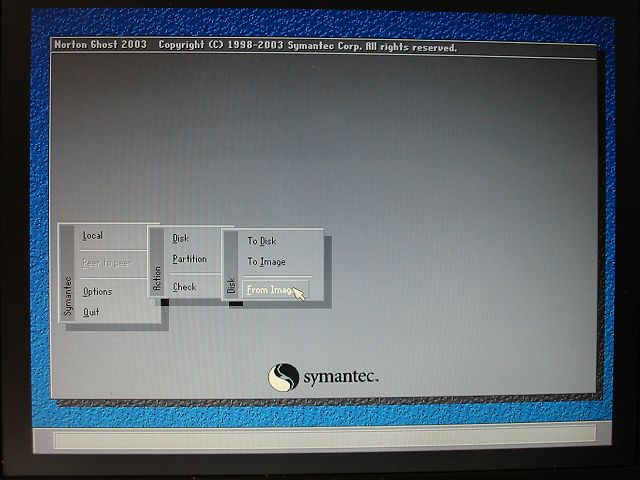 |
| Figure 6: At the bottom left there will be a small menu displayed. Click (or hover) over the "Local" entry, then when the menu expands to the right, do the same for "Disk" and then "From Image". What this does is command Ghost to perform an image restore onto the local hard drive. |
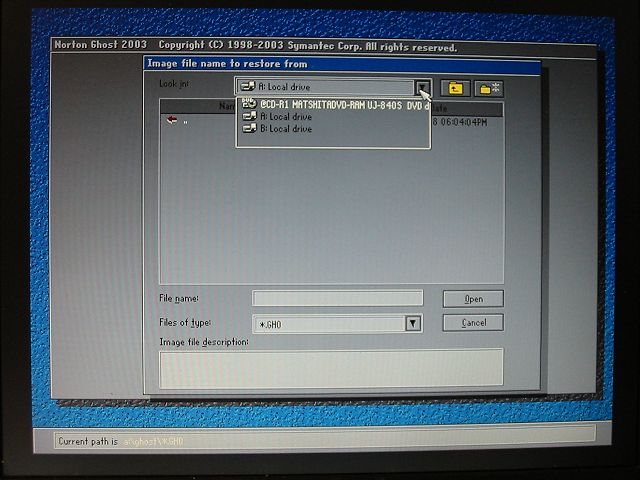 |
| Figure 7: This will open up another screen where you are to select the image file that will be restored. Since the image file exists on the CD or DVD, you need to specify the optical drive. Click the dropdown arrow next to the "Look in:" option and select "@CD-R1". |
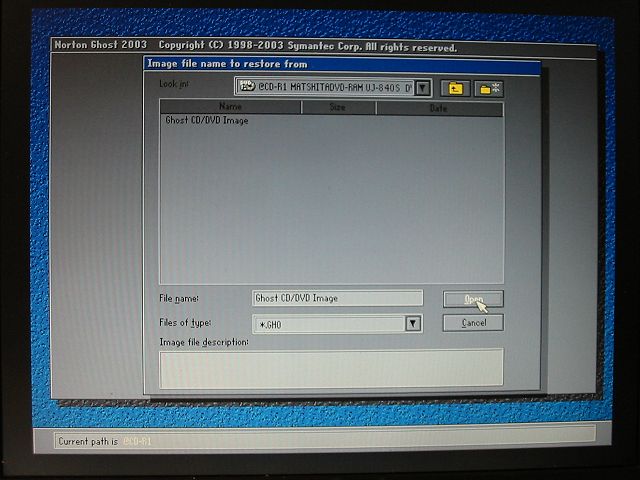 |
| Figure 8: An entry in the filename section, "Ghost CD/DVD Image" will appear. Just click the "Open" button to continue. |
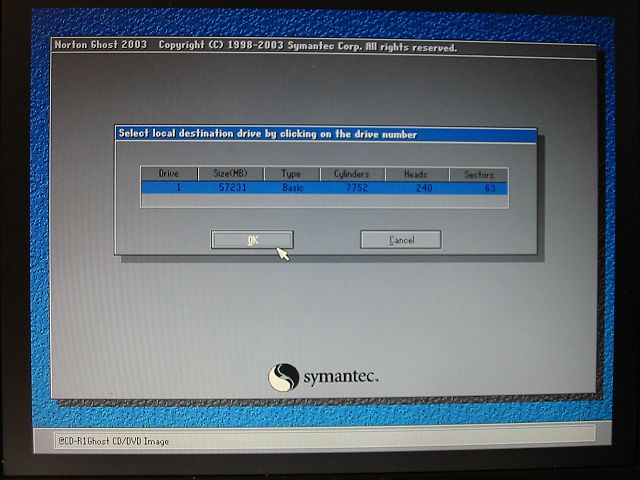 |
| Figure 9: This shows the details about the destination drive that will receive the restore. In this case, I have a 60GB drive as the only drive installed in the system (Drive 1). Click the "OK" button. |
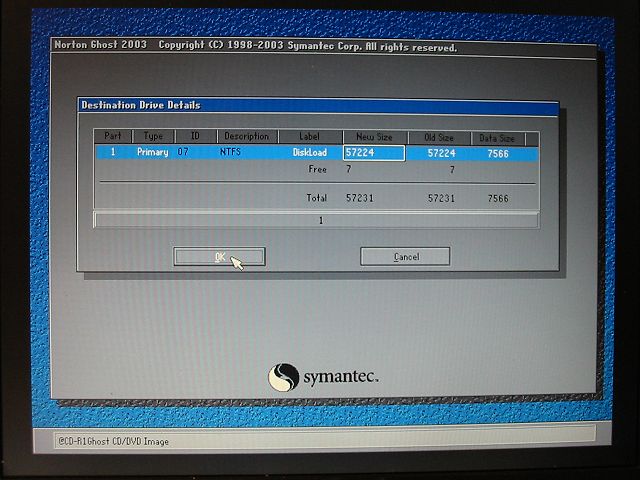 |
| Figure 10: Additoinal details about the destination drive is given. As this was an erased drive, there's only a single partition displayed; under the "Part" column, the number 1 shows a 60GB ("57224" MB) area. If you look at the far right column that is labeled "Data Size", this tells you the amount of data that is going to be transferred during the restore ("7566" MB). Click the "OK" button to proceed. |
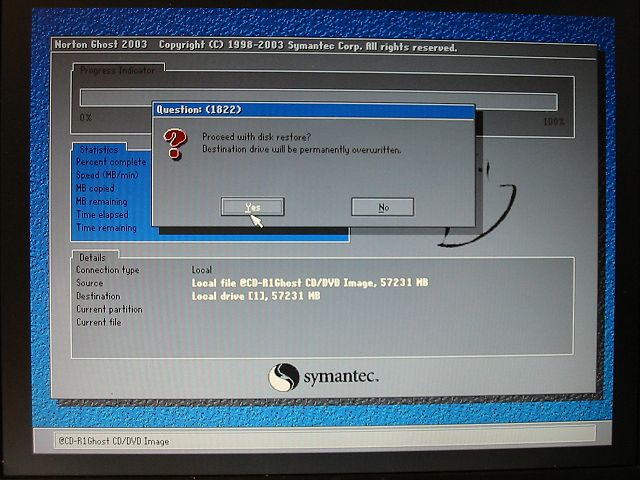 |
| Figure 11: This is your last chance to bail out. You are given a warning that the destination drive will be overwritten. If you look just below this warning, you will see that the "Source" drive is "Local file @CD-R1..." and the "Destination" drive is "Local drive [1]...". This is your confirmation that the data from the CD/DVD drive is going to go onto hard drive #1. Clicking the "Yes" button will start the restore operation. |
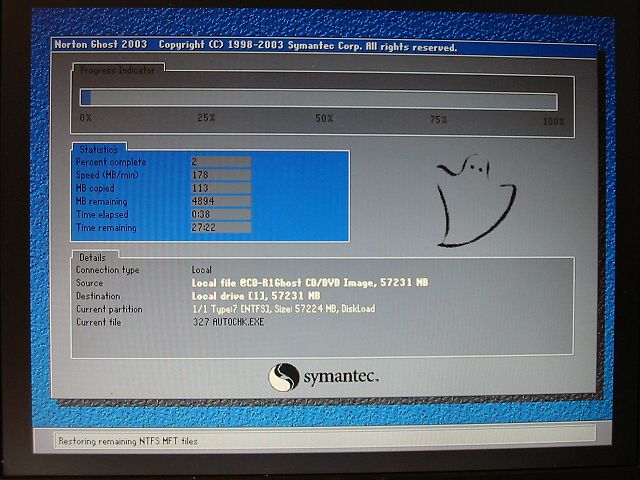 |
| Figure 12: This is the start of the restore. A progress bar is displayed at the top, with the details about the amount of data that has been and will be transferred. There's also a timer which approximates the amount of time that it will take to perform the restore. |
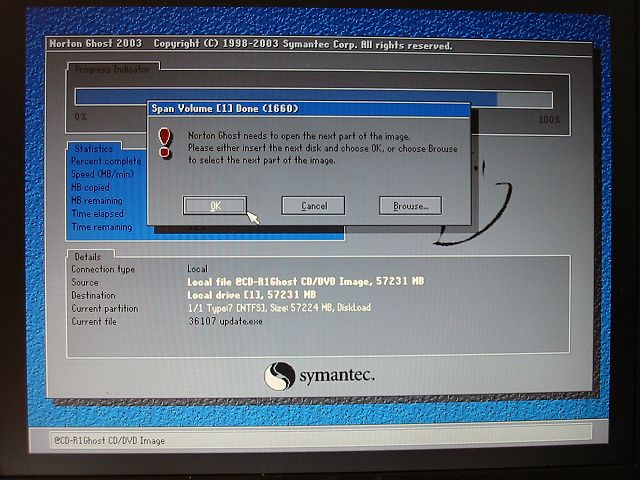 |
| Figure 13: Since the image I'm restoring occupies two DVDs, this message will appear when another disk is required to be loaded. Remove the disk in the drive, mount the next disk, give it a few seconds to allow it to spin up, then click the "OK" button. |
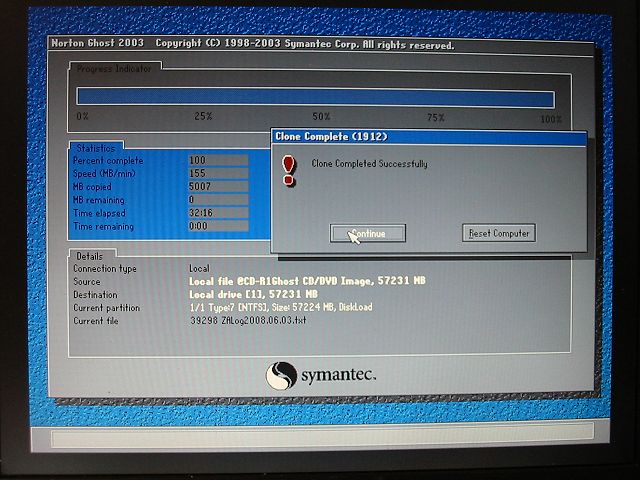 |
| Figure 14: After the last disk has been read, this "Clone Complete" message should appear. Click the "Continue" button. |
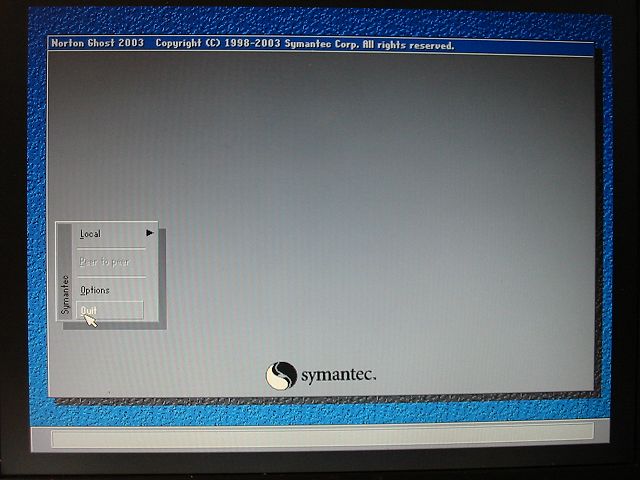 |
| Figure 15: You are now back at the initial menu before the restore procedure was started. To terminate the Ghost program, click the "Quit" option. |
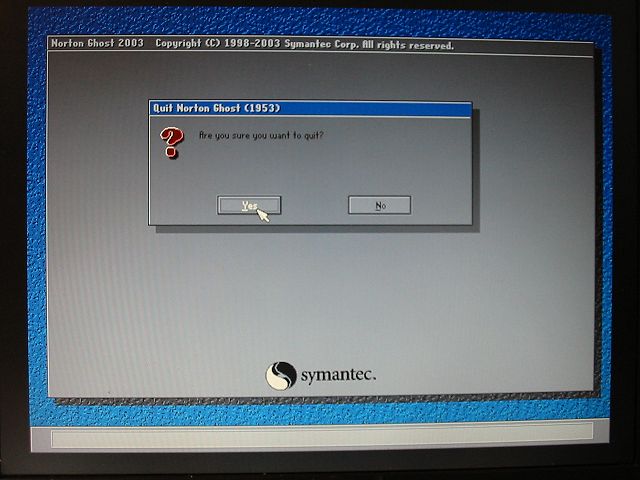 |
| Figure 16: Confirm that you actually want to quit... |
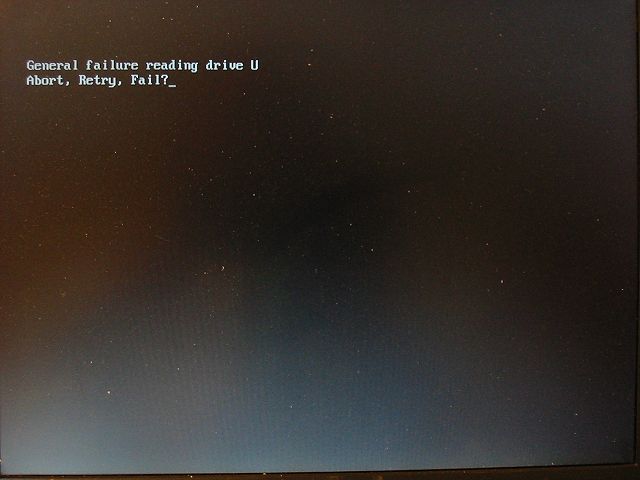 |
| Figure 17: and you get this error message (!!!). Don't worry, it's perfectly fine. What is happening is that the first CD or DVD which contains the bootable Ghost program has been removed and there's no longer anything to return to. This error could be avoided if you mount the first disk back in the optical drive but there's no real reason to do so. Remove the last CD/DVD disk and re-boot the computer. |
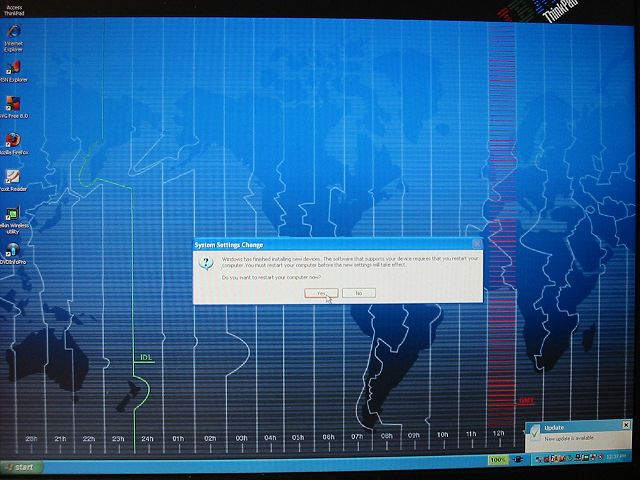 |
| Figure 18: If all went well, this shows one other normal error message you may see when restoring an image. Windows has detected that the drive that was used when creating the image is now different. Windows needs to be re-booted before continuing to use the system. Click the "Yes" button, let Windows do its stuff and enjoy your newly re-created system. |